What’s up, DIY enthusiasts! James Bean from IWantClones.com here. For those who love to customize and tinker, building your own propagation kit can be a rewarding experience. In this guide, we’ll walk through how to create your own cannabis cloning setup, tailored to your specific needs and budget.
Why Go DIY?
- Customization to your specific needs
- Potential cost savings
- Learning experience
- Ability to scale and modify easily
Essential Components for a DIY Cloning Kit
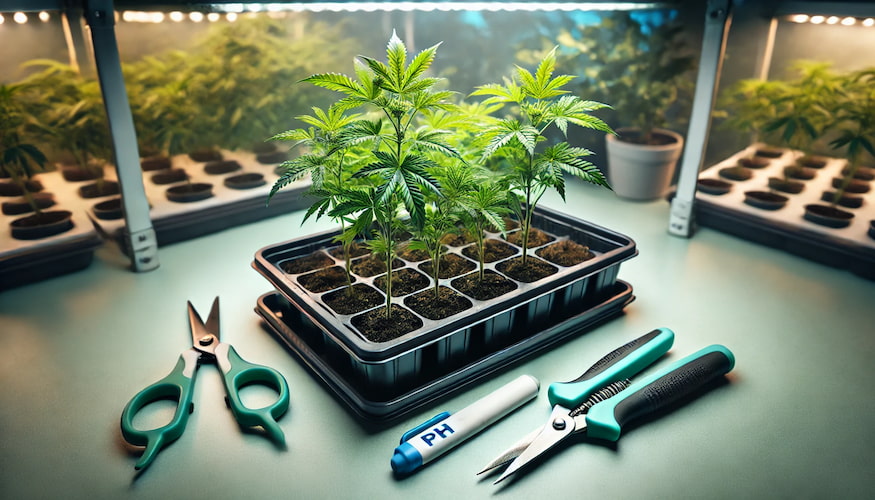
1. Propagation Tray and Dome
- DIY Option: Reuse clear plastic containers
- Tip: Ensure proper ventilation by adding adjustable vents
2. Heat Mat
- DIY Option: Use rope lighting or small holiday lights
- Tip: Add a thermostat for temperature control
3. Rooting Medium
- DIY Option: Mix perlite, vermiculite, and coco coir
- Tip: Experiment with ratios to find your perfect blend
4. Lighting
- DIY Option: CFL bulbs or repurposed LED strips
- Tip: Ensure proper distance to prevent heat stress
5. Humidity Control
- DIY Option: Small computer fans for air circulation
- Tip: Use a spray bottle for manual humidity management
Step-by-Step: Building Your DIY Cloner
- Prepare Your Container:
- Clean and sterilize a clear plastic container
- Add drainage holes if needed
- Install Heating:
- Place heat source beneath the container
- Use a thermometer to monitor temperature
- Set Up Lighting:
- Mount lights above the container
- Ensure even coverage
- Prepare Rooting Medium:
- Mix your chosen medium
- Fill small cups or cells within the tray
- Add Humidity Control:
- Install small fans for air circulation
- Create a misting schedule
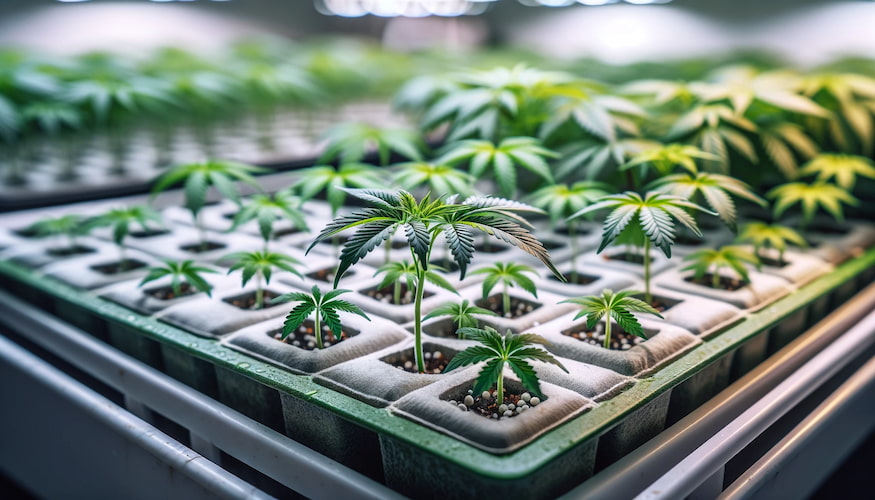
Advanced DIY Cloning Setups
1. Bubble Cloner
- Materials: Air pump, air stone, bucket
- Benefits: Fast rooting, easy to monitor
2. Fog Cloner
- Materials: Ultrasonic fogger, container
- Benefits: High humidity, even moisture distribution
3. Aeroponics System
- Materials: Pump, spray nozzles, timer
- Benefits: Fastest rooting, high success rate
Troubleshooting Your DIY Setup
- Uneven Heating: Add insulation or adjust heat source placement
- Humidity Issues: Modify ventilation, adjust misting frequency
- Lighting Problems: Adjust height, add reflective material
Cost-Saving Tips for DIY Kits
- Repurpose household items where possible
- Buy components in bulk
- Join gardening forums to trade or find deals
- Start small and upgrade as you learn
Safety Considerations
- Ensure all electrical components are safely wired
- Use GFCI outlets for water-prone areas
- Keep heat sources away from flammable materials
- Regularly inspect for wear and tear
Conclusion: Crafting Your Cloning Success
Building your own propagation kit allows for a truly customized cloning experience. While it requires more initial effort, the knowledge and flexibility gained are invaluable.
Remember, whether you build or buy, the key to successful cloning is attention to detail and care for your plants. Happy building, and may your DIY cloner bring you abundant, healthy clones!

