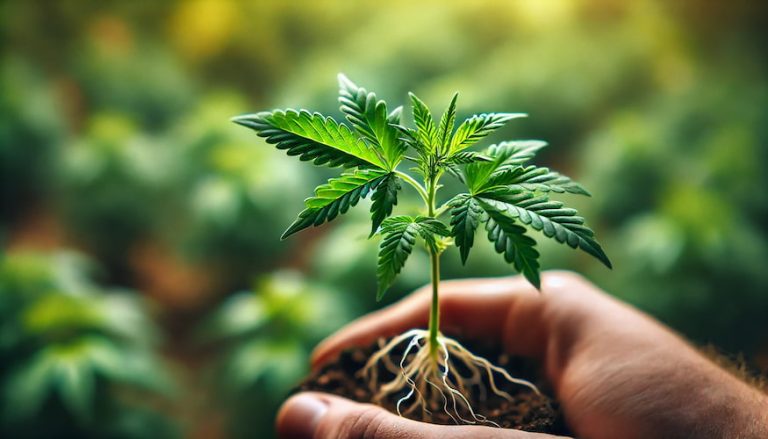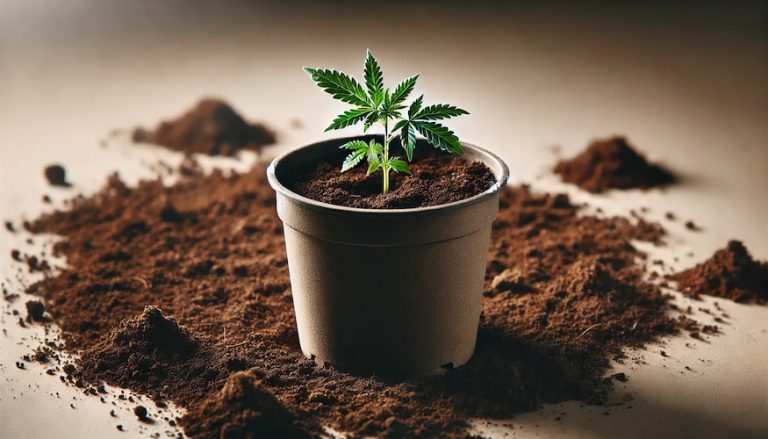


Knowing how to quarantine clones is one of the simplest ways to protect a clean grow. Incoming plants are a common way pests get into a garden, so it pays to quarantine new clones every time, no matter where they came from. A short stretch in isolation costs you a little space and patience, and it can save you from treating an entire room later.
This guide from I Want Clones (IWC) walks you through the whole process: why quarantine matters even with good sources, how to set up a quarantine space, a step-by-step inspection routine, how long to keep new clones separated, what to do if you find a problem, and how to tell when a clone is ready to join your main grow.
Why Quarantine New Clones, Even From a Trusted Source
A clone is a living plant that comes from someone else’s garden. Even a careful vendor can miss a few eggs or an early infestation, and some problems don’t show up for days. Quarantine gives you time to see what the plant brings with it before it shares air, tools, and space with the rest of your plants.
What Can Hitch a Ride on a Clone
These are the problems growers most often watch for on new clones:
- Spider mites. Two-spotted spider mites show up as tiny moving dots on leaf undersides and fine stippling on the upper leaf surface. Webbing is a sign of a serious infestation.
- Russet and broad mites. These are far smaller than spider mites and are essentially invisible without strong magnification. Russet mites are often mistaken for pH problems or light stress.
- Thrips. Adults and pale larvae hide on leaf undersides, and thrips pupate in the growing medium.
- Fungus gnats. These small flies lay eggs in moist soil, and their larvae feed on roots, so a problem can arise in the medium rather than on the leaves.
- Aphids. Look for clusters on new growth and sticky honeydew on the leaves.
- Powdery mildew and rot. Watch for white, powdery patches on leaves and for soft, discolored stems or roots.
Hop latent viroid (HLVd) is a different kind of risk. Infected plants often look healthy in veg, and visual inspection alone can’t confirm or rule it out. Our hop latent viroid guide explains the symptoms and how the viroid spreads.
For help telling these pests apart, see our guides to identifying spider mites, thrips, and fungus gnats and to common pests in cannabis clones.
What Vendor Standards Cover, and What They Don’t
IWC is a marketplace of approved vendors, and vendors guarantee that clones leave their hands “free of visible pests, mold, and disease, and true to the listed genetics.” The key word is visible. Eggs, very small mites, and the earliest stage of an infestation can be hard to see, even for an experienced grower.
That’s why quarantine works best as a second checkpoint. The vendor inspects before the clone ships, and you watch it in isolation after it arrives. Neither step replaces the other, and together they give your grow the best chance of staying clean.
How To Set Up a Clone Quarantine Space
A good plant quarantine setup doesn’t need to be elaborate. It needs to keep new plants physically apart from your main grow and make it easy to inspect them. Set it up before your order arrives, so the clones go straight into isolation.
Pick a Separate Room or Tent
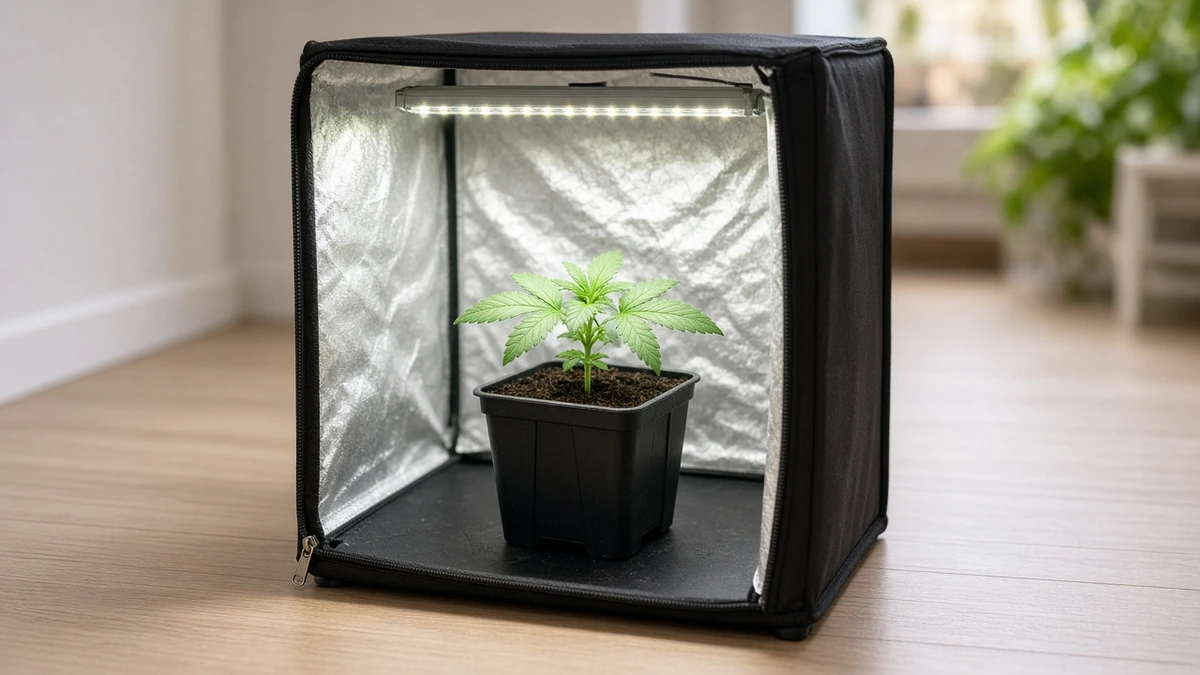
The goal is separation. Put new clones in a different room from your main grow, or in a small quarantine tent of their own. Air from the quarantine space shouldn’t feed into your main grow, since flying pests and mold spores travel on air. If you’re working with limited space, keep the quarantine area as far from your other plants as you can, and don’t share fans or ducting between the two.
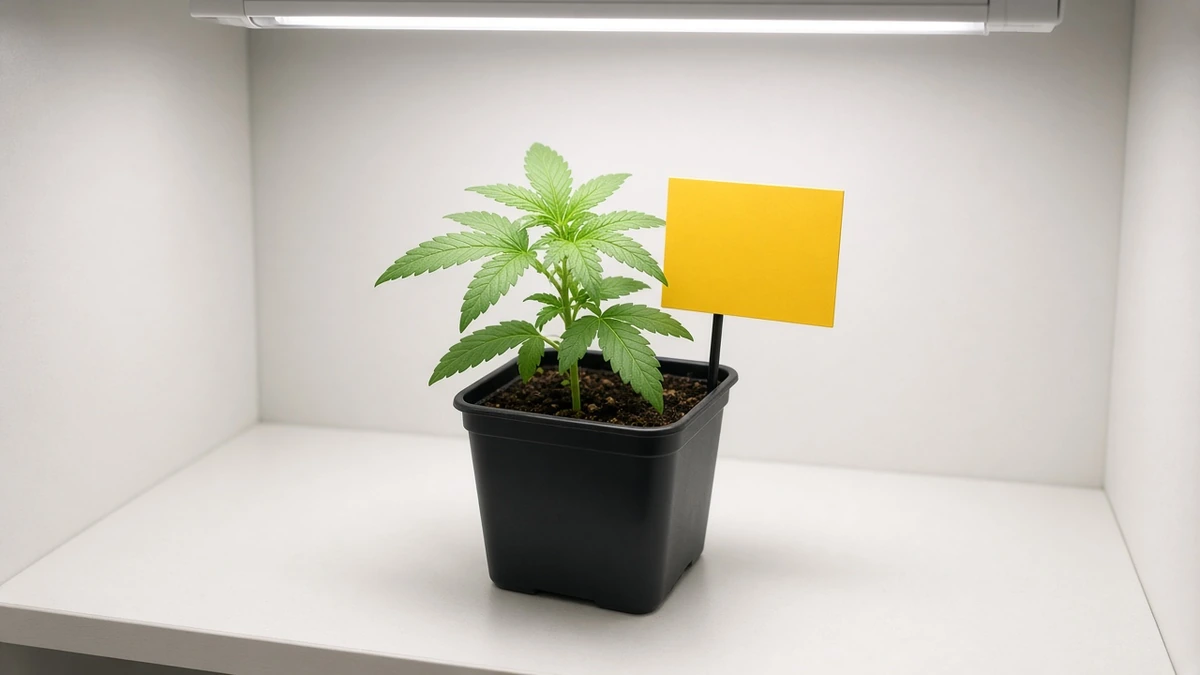
You don’t need special gear to quarantine new plants. A basic tent, a light suited to young plants, and enough room to see every leaf are usually enough.
Use Dedicated Tools and Visit Quarantine Last
Pests and spores also travel on hands, clothes, and tools. Keep a separate set of scissors, sprayers, and gloves for the quarantine space, and don’t carry them back into your main grow.
Plan your day so you work in the main grow first and visit quarantine last. Wash your hands or change clothes before you go back to your other plants. This simple routine keeps pests from riding back into your main grow on your hands, clothes, or tools.
Set Up Monitoring Before the Clones Arrive
Have your inspection tools ready on day one:
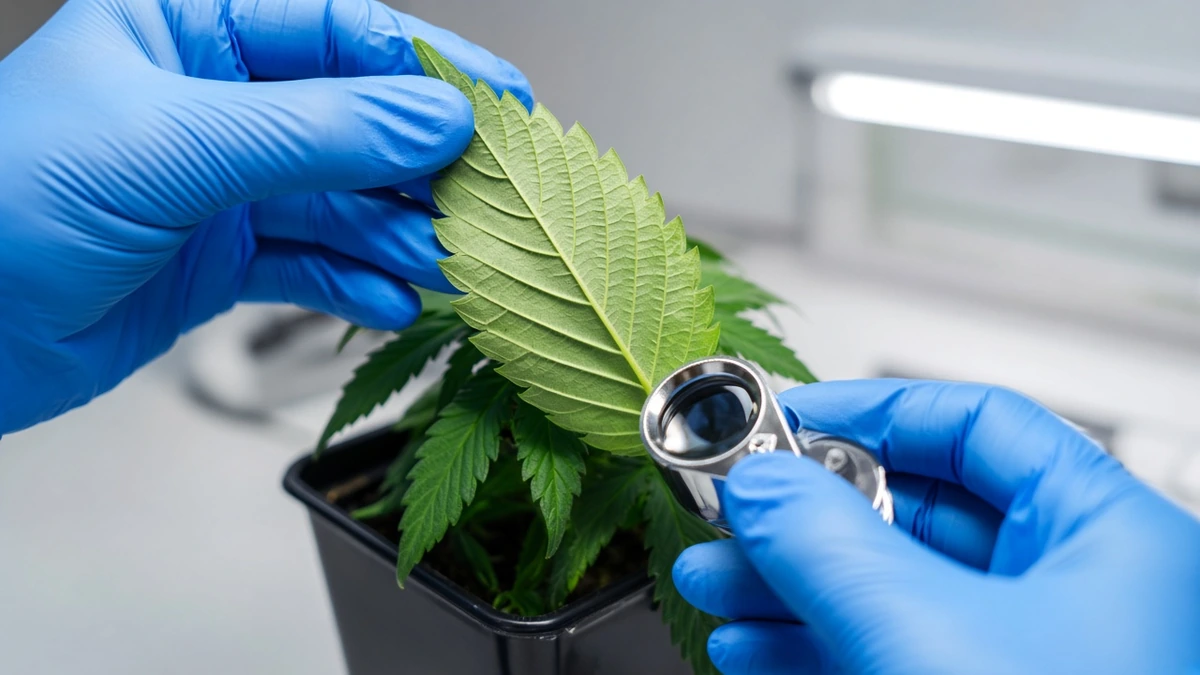
- A hand loupe or a phone macro lens for checking leaf undersides and new growth
- Yellow sticky cards placed near the plants to catch flying pests such as fungus gnats
- A simple log to record the date, what you checked, and what you found
A written log keeps you honest. It’s easy to forget when you last checked a plant, and the log shows whether a problem is new or growing.
Step-by-Step: How To Quarantine Clones
Once your space is ready, the routine itself is straightforward. Inspect closely when the clones arrive, decide whether to treat, recheck on a schedule, and keep caring for the plants while you watch.
Day One: Unbox, Photograph, and Inspect
Open the box as soon as it arrives. Before you move anything, take clear photos of the plants and the packaging. If something is wrong, those photos are what you’ll need for a claim, and IWC asks you to get in touch within three days of delivery.
Then inspect each clone, one at a time:
- Tops and undersides of every leaf
- Stems and leaf joints
- The surface of the growing medium
- Roots, if they’re visible
- New growth at the top of the plant
Our guide on what to do when your clones arrive covers the unboxing process in more detail.
Decide on a Preventive Treatment or Dip
Some growers give every new clone a preventive treatment, often called a clone dip, in which the plant is briefly dipped in or sprayed with a pest-control product. Others prefer to inspect first and treat only if they find something.
If you choose to treat, use only products labeled for that use and follow the label directions exactly, including the mix rate and how long the product stays on the plant. Insecticidal soaps and horticultural oils are common lower-toxicity options, but they only work on contact, so cover every leaf surface, especially the undersides. Before treating a whole batch, test one plant and wait a day or two to check for leaf burn. Pesticide rules for cannabis vary by state, so check what’s allowed where you live.
Keep in mind that a freshly shipped clone is already under stress, and a dip adds more. Don’t treat a clone that’s wilted or dry straight out of the box. Water it first and give it time to perk up, which can take several hours or a few days, before you apply anything.
Recheck on a Schedule
A single inspection isn’t enough, because eggs can hatch after day one. Recheck each clone at least twice a week during quarantine, looking closely at leaf undersides and new growth with your loupe. Read the sticky cards at the same time, and write down what you find in your log.
If you’re not sure whether a mark on a leaf is pest damage, our guide to spotting early pest damage shows what to look for.
Keep Acclimating While You Watch
Quarantine and acclimation happen at the same time. Your new clones are recovering from shipping and adjusting to a new environment while you watch them for pests, so treat them gently. Keep them on a vegetative light schedule of at least 14 hours a day so they don’t start to flower. Lower humidity gradually rather than all at once (see the humidity FAQ below). Go easy on fertilizer, especially nitrogen, because heavy feeding pushes soft, lush growth that’s more attractive to pests like aphids.
When the plants are settled and growing, our guides to hardening off your clones and transplanting clones cover the next steps.
How Long Should You Quarantine Clones?
Length matters because pests have life cycles. A plant that looks clean on day one can still carry eggs that hatch later, and a short quarantine can end before the first generation shows itself. Spider mites in particular can go from a few missed individuals to a visible infestation quickly.
Growers’ recommendations vary, and you’ll find many different numbers online. IWC recommends quarantining new clones for two to four weeks. If you see any sign of pests or disease during that time, deal with it and extend the quarantine rather than moving the plant early.
A two- to four-week quarantine is designed to catch visible problems such as pests and mold. It can’t confirm a plant’s HLVd status, because the viroid often causes no visible symptoms in veg. See our hop latent viroid guide for more on what visual checks can and can’t tell you.
What To Do If You Find Pests or Disease in Quarantine
Finding a problem in quarantine means the system worked. The issue is contained, and you have options. What you do next depends mostly on timing.
Within Three Days of Delivery
If a clone arrives damaged, dead, or clearly unhealthy, contact IWC within three days of delivery and include clear photos of the plants and the packaging. Valid claims receive a replacement or refund. IWC handles first-line claims, so you deal with IWC, not the vendor. Keep the clone isolated while the claim is reviewed. Our Shipping and Policies page has the full details.
After the Claim Window
After the claim window, outcomes depend on your care, environment, and cultivation practices. You can treat the plant in quarantine, then restart or extend the quarantine clock once it’s clean. Or you can decide the plant isn’t worth the risk and discard it.
If you treat, match the method to the problem. Our guides to organic pest control options and powdery mildew prevention are good places to start, and the pest guide linked above covers mites, thrips, and gnats.
When To Discard Instead of Treating
Sometimes treating a plant puts the rest of your garden at more risk than it’s worth. Extension and state guidance points to discarding a clone in situations like these:
- Symptoms that suggest a viroid. There’s no treatment that cures a viroid-infected plant, and extension guidance says to remove infected plants rather than grow them out. Because HLVd often shows no visible symptoms, visual checks alone can’t rule it out.
- Widespread rot in the stem or roots. Once Pythium root rot infects a plant, there’s no cure, and a plant with root rot is unlikely to recover. Remove it and watch nearby plants closely.
- An infestation you can’t bring under control. Heavily infested plants are often best thrown out, because they take a lot of effort to clean up and can spread pests to other plants. Bag the plant and seal it before carrying it out of your grow space.
Discarding one clone is far easier than cleaning out an entire grow.
Checklist: Is Your Clone Ready To Leave Quarantine?
Before you move a new clone into your main grow, check that it meets every point on this list:
- No pests or new damage found at any of your checks, including a careful final inspection at the end of quarantine
- Sticky cards near the plant are clean
- New growth looks healthy, with no curling, stippling, or spotting
- The stem is firm, with no soft or discolored areas
- The two- to four-week quarantine period is complete
When a clone passes every check, move it into your main grow, and keep a close eye on it for a while. Quarantine lowers the risk, but regular inspections in the main grow are still your best protection.
Frequently Asked Questions
How Long Should You Quarantine a New Plant?
IWC recommends quarantining new clones for two to four weeks. That gives pest eggs time to hatch and early infestations time to show themselves before the plant shares space with the rest of your grow. If you find pests or disease during quarantine, treat the plant or remove it, and extend the quarantine before moving it into your main grow.
What Humidity Should Clones Be At?
Keep humidity on the higher side at first. Newly arrived clones are recovering from shipping, so they need gentler conditions than established plants while they settle in. Then lower humidity gradually toward your main grow’s level as they settle in. Avoid sudden changes, and watch the plants closely for signs of stress. Our guide on what to do when your clones arrive covers the first days after unboxing.
Do You Water Clones Every Day?
Not necessarily. How often you water depends on the growing medium and how quickly it dries down. Overwatering is a common problem with new clones, and soggy media can also attract fungus gnats, which lay their eggs in moist soil. Check the medium before you water rather than following a fixed routine. For clones in pots of soil or soilless mix, let the top 1 to 2 inches dry before you water again, which also helps break the fungus gnat cycle. Small plugs and cubes dry out much faster, so don’t let them dry out completely. Drain off any standing water after you water. For more, see our guide on what to do when your clones arrive.
How Do You Quarantine Clones at Home?
Use a separate room or a small tent away from your main grow, with its own tools and no shared airflow. Inspect each clone closely on arrival, recheck on a regular schedule with a loupe and sticky cards, and keep a simple log. Visit quarantine last each day, and move clones into your main grow only after two to four weeks with no signs of pests or disease.
Bring New Clones In With Confidence
Learning how to quarantine clones comes down to five steps: separate, inspect, wait, verify, and then introduce. A dedicated space, a steady inspection routine, and two to four weeks of patience give you the best chance of keeping pests and disease out of your main grow.
When you’re ready for your next cut, check the I Want Clones shop for listings from IWC’s approved vendors.